Step 1
Getting started
From the downloaded installer to your first finished image, in about an hour (most of it is downloads).
Before you install
- Windows 10 or 11, 64-bit.
- An NVIDIA graphics card. 12 GB of video memory is recommended (RTX 3060 12 GB or better). 4 GB is enough for images and narrated shorts, more slowly.
- 16 GB of RAM, and about 40 GB free disk space plus the models: about 11 GB for images and about 64 GB more for video.
- An up-to-date NVIDIA driver. Setup tells you if yours is too old.
1. Run the installer
- Download
MoneyForge_Setup.exefrom your Gumroad receipt email ("View content") or your Gumroad library. - Run it. If Windows SmartScreen appears, click More info, then Run anyway.
- Keep Start MoneyForge automatically on Windows startup (recommended) ticked. MoneyForge runs in the background as a Windows service and opens in your web browser.
- When the installer finishes, it opens the Setup page in your browser.
Installing a newer version over an older one keeps your account, password, license, keys and everything you've made. You don't need to uninstall first.
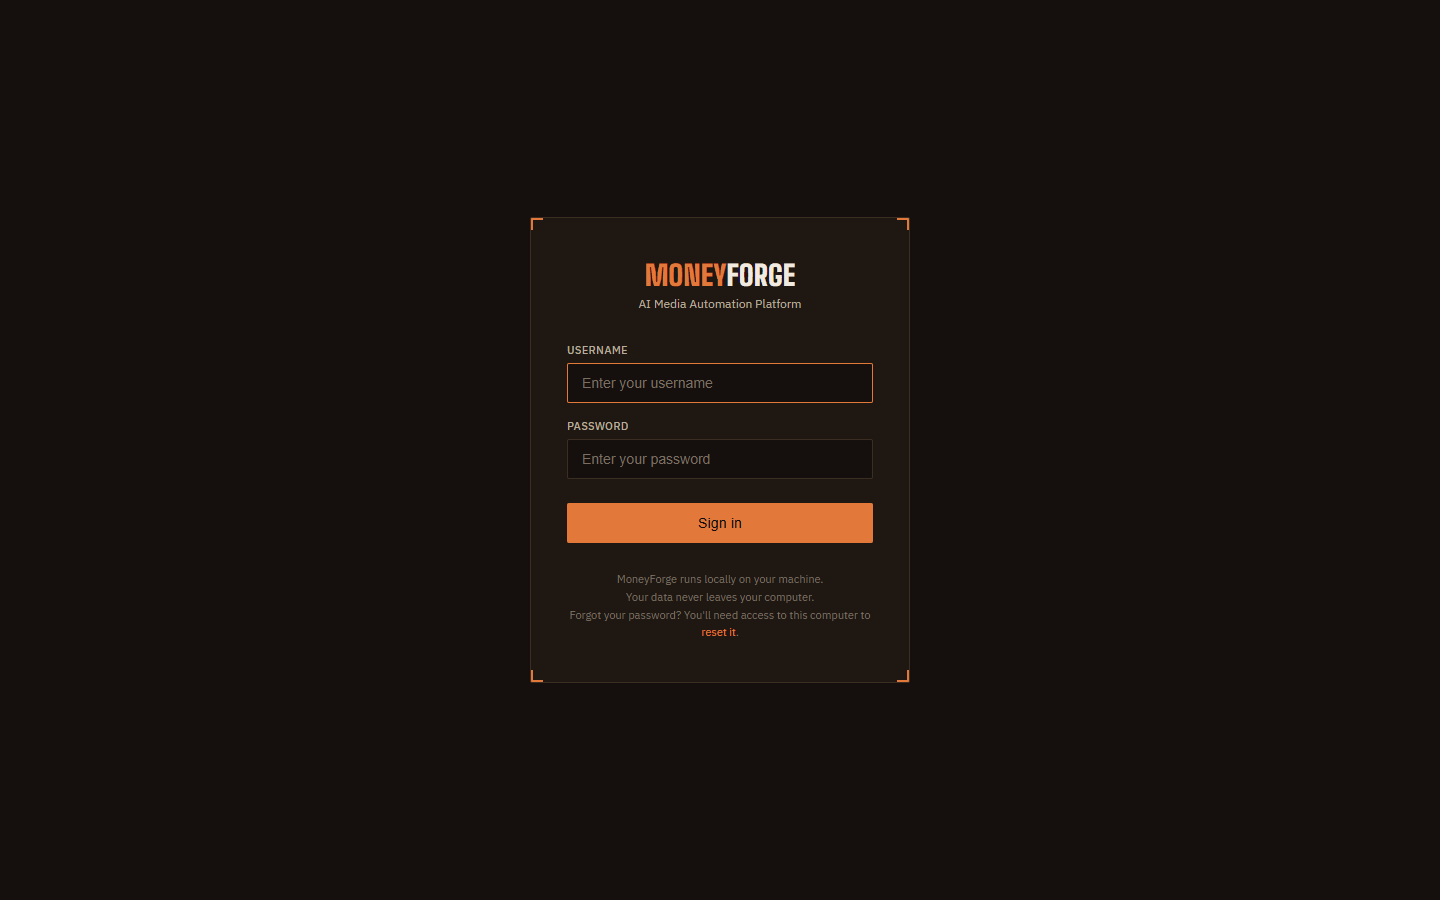
2. Sign in for the first time
The sign-in screen is a local account on your own computer. It is not your Gumroad account, and MoneyForge never sends email.
- Sign in with username
adminand passwordmoneyforge. - MoneyForge asks you to choose a new password. Do it now.
Forgot your password later? Use the reset it link on the sign-in screen. After too many wrong attempts sign-in pauses for up to 15 minutes (restarting the computer also clears it).
3. Let automatic setup finish
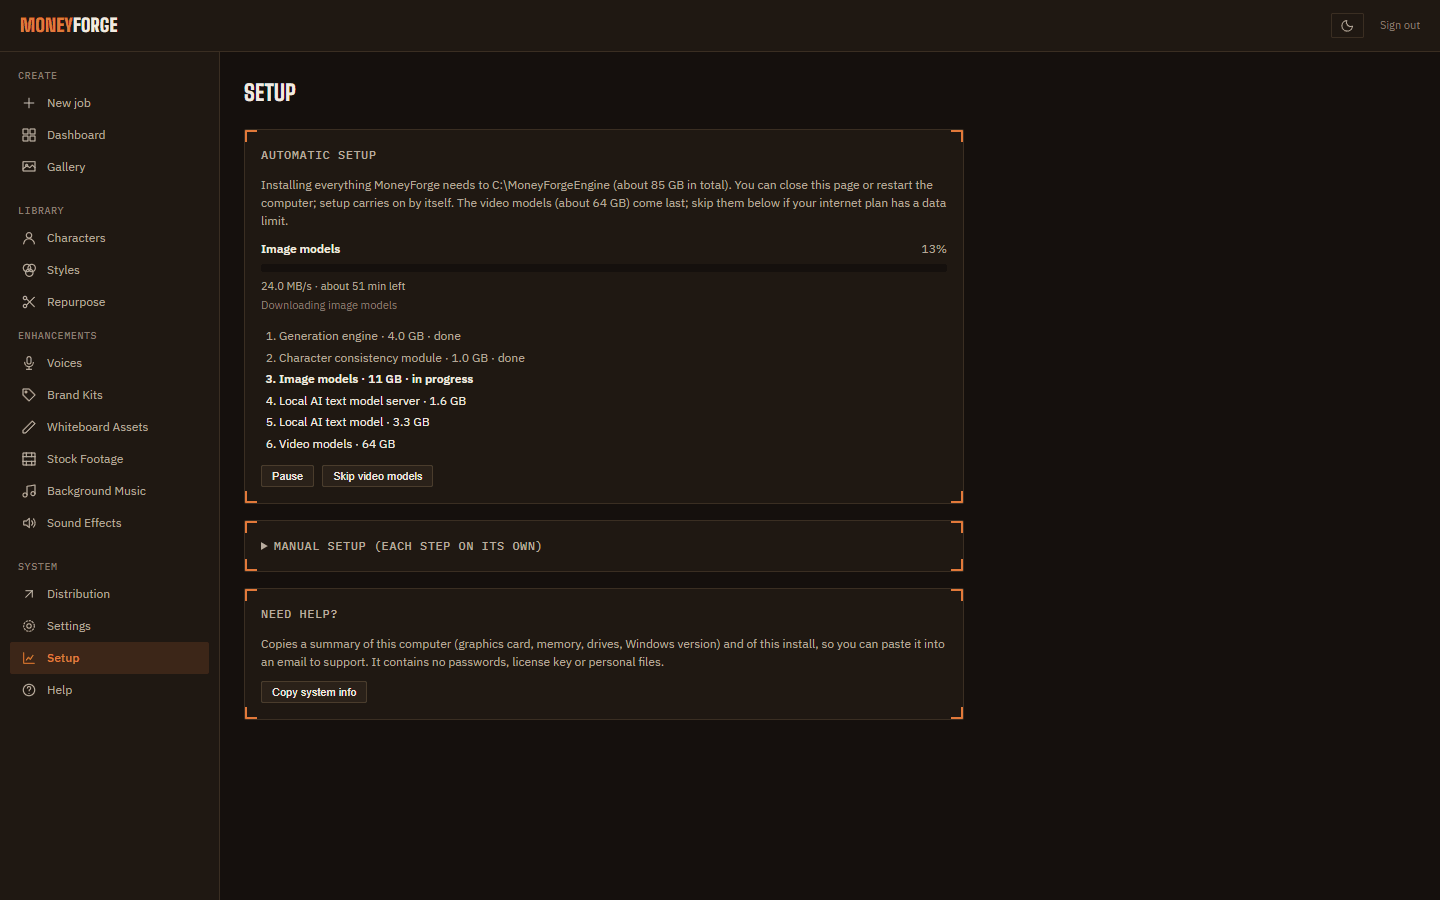
The installer's Download the AI models automatically after install box is ticked by default. Leave it ticked: right after your first sign-in MoneyForge starts downloading everything it needs, in this order:
- Generation engine, about 4 GB, usually 20 to 40 minutes.
- Character module, about 1 GB. You need this for characters.
- Image models, about 11 GB. When these finish you can already make images while the rest downloads.
- Local AI text model, about 5 GB. It scores images, writes scripts, translates, checks reel scripts and picks Repurpose segments on your own computer, with no cloud service or key.
- Video models, about 64 GB, only on graphics cards with 12 GB or more. Video, movies and AI music videos need these.
Open Setup in the left sidebar to watch it: one progress bar, the current step, download speed and time left. Every other page shows a slim progress banner while it runs. You can close the browser or restart the computer; it carries on from where it stopped when MoneyForge starts again.
- Pause / Resume stops and continues the downloads.
- Skip video models saves about 64 GB if you only want images, reels and lyric music videos. You can add them later with Add video models.
- If a step fails (for example the network drops for a long time), the Setup page says why. It tries again the next time MoneyForge starts, or click Resume.
- MoneyForge picks a drive with room for everything (or else the one with the most free space). To choose the drive yourself or run one step at a time, open Manual setup at the bottom of the Setup page.
Video models are large. Check that Download video models finished before you try video, movie or AI music videos. If a video job fails straight away, this is the first thing to check.
4. Activate your license
- Copy your license key from your Gumroad library page.
- Open Settings, paste it into License key, and click Activate.
Each license works on one computer. To move it, click Deactivate this machine in Settings on the old computer first.
5. Make your first image
On the Dashboard, the welcome box offers Forge your first image →. Or open Create, click ✦ Start from scratch, type a prompt and click Generate ✦. The Dashboard shows progress; the result appears in the Gallery. Next: Create basics.
Getting help
On the Setup page, click Copy system info and paste it into an email to support@moneyforgestudio.com. It lists your graphics card, memory, drives and install status, and contains no passwords, license key or personal files.
Home · User Guide · Support · Privacy Policy · Terms of Service